18 December 2025
Welcome to the next Development update for our A300B4 Professional. Today we'll be looking at the considerable progress made this year on our upcoming classic, high-fidelity, wide-body airliner - the A300B4 Professional for MSFS 2020/2024.
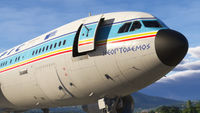
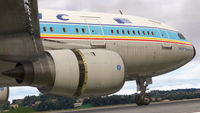
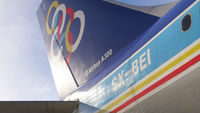
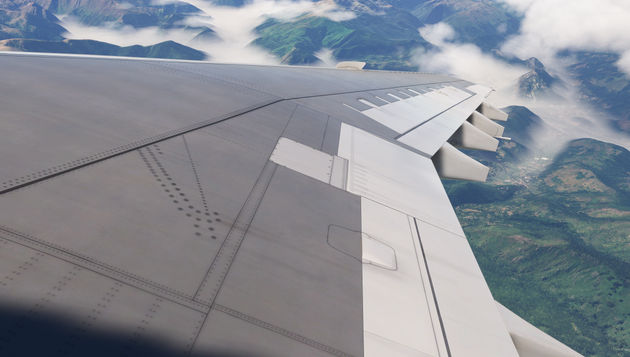
The big news is that after months of rivet-crunching work, our in-house artist is now extremely close to completing the exterior artwork. An aircraft of this size, created with this level of detail, is an enormous undertaking for any artist. The exterior textures are created at 8K resolution for pin-sharp texture quality, even at eye level during a pre-flight walkaround.
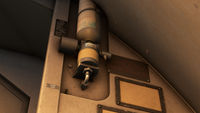
As you get up close to certain areas of the aircraft, it has the look of a very industrial machine. Thousands upon thousands of rivets have been meticulously hand-placed on every inch of the aircraft’s metal surface and this is most evident around the tail of the aircraft, which houses critical aircraft structure such as the rear bulkhead.
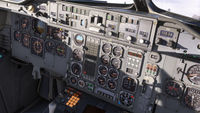
Of course, it wouldn't be a Just Flight aircraft if it didn't feature a realistic level of weathering. As with all our aircraft, we like to represent a machine that has been a workhorse for its operators - one that has been operating day and night, come rain or shine. Streaks of dirt and detritus that have been caught up in the airflow are visible on the aircraft’s surfaces, as well as traces of rain water than has run down panels from guttering or hinges, and even brake dust around the main landing gear doors. This all closely matches the feel of the cockpit artwork, which you can see in our previous A300B4 Professional development updates.
We may be slightly biased, but we think this will be one of, if not the, most accurately represented wide-body airliners in any flight simulator. We know that's a very bullish thing for us to say, so we'll let you be the judge!
So, what work remains to be done on the aircraft exterior? Our artist is currently working on the textures of the landing gear, wheels and landing gear bays, before moving onto the cargo hold interiors - and that will be the artwork complete for the A300B4-203 variant. The eagle-eyed among you may notice that the livery shown in today’s screenshots actually belongs to the A300B4-103, and yes - that does mean other variants of the A300B4 will be included, including freighters. We're not ready to show any of the other planned variants just yet, so we will save those for a future development update.
Once the exterior texturing is complete, we can move on to livery creation. There are so many classic liveries that have adorned the A300B4 throughout its service life, and we have had great difficulty narrowing down the list to try and keep things achievable. Nevertheless, we promise to provide a large selection of top-quality liveries which represent the aircraft’s diverse range of operators from every habitable continent (sadly we couldn't find any record of Antarctic A300 operations!).
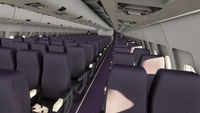
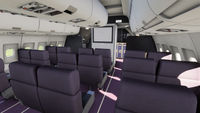
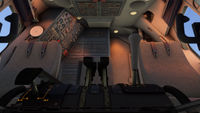
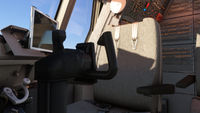
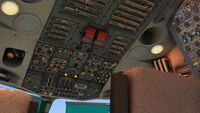
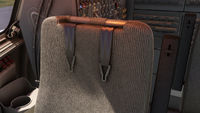
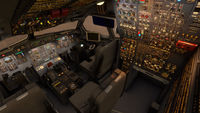
As regards the interior, we can share our first proper glimpse into the A300's vast cabin, which we have modelled in a two-class layout, straight out of the 1980s. The First Class cabin has 24 seats arranged in a 2+2+2 configuration, and the Economy cabin has 230 seats in a 2+4+2 configuration, which narrows at the rear to 2+3+2. The very noticeable incline in the rear section of the cabin is also modelled, with this incline taking up the entire aft cabin section in the A300B4, as opposed to the more modern aircraft types that share the same basic A300 fuselage.
As is the case with our other MSFS aircraft, the cabin will have plenty of simulation in the galley areas, so you will have lots to play with if you want to stretch your legs on a medium- or long-haul flight.
The cabin artwork is complete but currently in testing, so there will be minor changes between what you see here and the final release, most notably in the cabin lighting; this is not yet implemented in these screenshots, with the cabin currently illuminated via the ambient light entering through the cabin windows.
Pending final changes to the complete aircraft artwork, we can now turn our attention to the remaining areas of the flight model, sound set and systems coding.
The flight model is progressing very well, and the extensive data we have sourced for a variety of A300B4 variants has proven to be extremely useful in getting the aircraft to perform as faithfully to the numbers as possible. Work on the sound set is due to start soon.
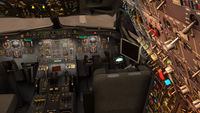
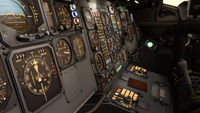
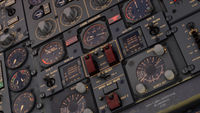
The systems coding is the heart of the aircraft, as most of the time you spend in the aircraft will be interacting with the abundance of switches in the A300B4's three-position flight deck. Don't let the A300 name fool you - this is very different from operating a modern A3XX aircraft!
In our previous development update we briefly talked about the sheer depth of simulation our system coding is achieving with the A300, including simulating the variances in fuel pump efficiency between each fuel tank - the level of simulation that can only be accomplished by coders who are airline pilots themselves.
All the aircraft systems have now been fully coded, and the aircraft is being prepared to enter wider testing. The most recent tasks completed are the fully custom-coded navigation systems, which include a Carousel IV-A Inertial Navigation System (CIVA INS), and the autopilot logic.
Now that we have an almost complete aircraft, we can begin an intensive testing period that involves diving deep into every one of the A300's systems and cross-checking their functionality against the aircraft’s FCOMs. There will be constant refinements made to systems' interoperability, in particular how the autopilot behaves with the other navigation systems, and the flight model.
Our lofty ambitions for the A300B4 Professional are quickly becoming a reality and we can't wait to share more with you as development continues at pace into the new year. For now please enjoy these latest screenshots taken from the latest build.
04 July 2025
A new In Development update for our A300B4 Professional is upon us!
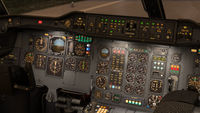
Lets kick off this latest updating with the latest on the cockpit modelling and texturing. As shown in previous updates, the cockpit artwork is now effectively complete. It’s based on our reference aircraft - A300B4-203 F-WUAB - located at the Aeroscopia museum in Toulouse and includes an accurate level of wear and tear. No shiny, fresh out of the factory look here - this aircraft is a workhorse that has earned its keep!
Several areas of the cockpit will be configurable based on options on the EFB and/or depending the aircraft variant selected. Although we are presently focusing on creating an accurate representation of the A300B4-203 variant fitted with an INS, we will have options for other avionics equipment such as the UNS-1 FMS and TCAS VSI. A full list of variants and customization options will be shared closer to release.
Also on the interior of the aircraft, the passenger cabin is nearing completion and is already an impressive sight. With over 200 seats and a distinctly 1980s interior design, it captures the era perfectly, minus the cigarette smoke of course (although we’ve joked about adding that to the feature request list!). A dedicated update on the cabin will follow soon, so be sure to keep checking the in-development page! In the mean time, we’re sharing a somewhat different small teaser to whet the appetite.

Moving outside the aircraft and we’re excited to share some progress shots of the exterior for the first time. Long time followers of Just Flight may recall the A300B4 was originally in development for P3D, and featured a complete model with textures on both the interior and exterior. When we transitioned to MSFS, we decided to significantly upgrade the artwork. Since then, our artists have spent years refining - and in some cases, completely rebuilding - parts of the model to meet MSFS’s visual standards.
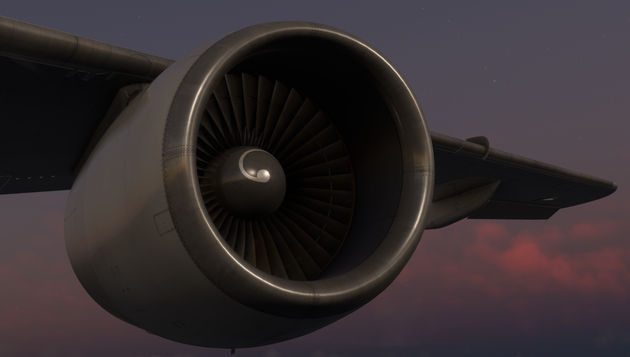
The exterior modelling work is now about 95% complete, with the remaining tasks centred around completing a second engine variant, and implementing the wing flex. The completion of the bulk of the external model earlier in the year has allowed the seemingly never ending process of exterior texturing to continue. It’s an area that can be easily overlooked, but every rivet, screw, fastener, panel line, weathered surface, and text decal has to be created and hand placed on the exterior - and not only does all of that have to be placed somewhere, it all has to be placed in the correct locations and in the correct quantity. A colossal undertaking not only in texture creation but in the research involved too, especially on an aircraft the size of the A300.
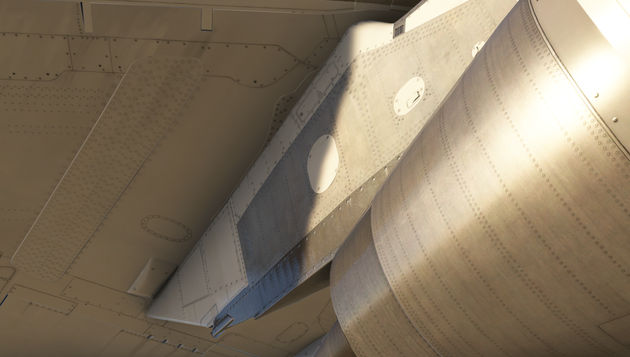
To ensure complete accuracy, our team recently revisited the real aircraft to gather even more high-resolution reference photos. In addition to filling in some gaps of our existing photograph collection, this new set has also revealed a few discrepancies in previously textured areas, which we’ve since corrected. The result is an exterior model that’s as authentic as possible.
In the past, the term "rivet counters" has been used to describe flight sim enthusiasts who have the highest of expectations and a very keen eye for detail. These days, we're proudly wearing that badge ourselves!
On the aircraft systems front, a major milestone was recently achieved, as the systems code has now been integrated into the MSFS version of the aircraft. This means the A300B4-203 is now “alive” in the simulator, and our internal testing team can begin evaluating its systems in depth.
The integration of the systems code has occurred later in the development cycle than usual, however, that is because the systems were being developed in the P3D version whilst we finalised the MSFS model. As a result, the first MSFS build already features a highly advanced systems suite.
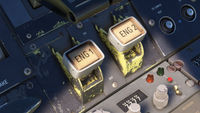
Essentially, all of the aircraft’s core systems are fully coded, from Electrical, Hydraulics and Bleed Air; to Flight Controls and Landing Gear; to APU, Engines and Fuel. To give an example of the level of fidelity our systems coder has achieved, the aircraft has 10 fuel pumps – two in each fuel tank – and the fuel pressure supplied by each pump is slightly different, and also varies every time you load into the aircraft, replicating the small differences you would see in the real aircraft.
The remaining systems in development are primarily navigation-related, such as the Autopilot and INS, and work is progressing well on those. We’ll be sure to share more on those in future updates.
We hope this update has been insightful and given a solid glimpse into how far the A300B4 Professional has come. From the intricacies of the cockpit, cabin and exterior modelling and texturing, to the depth of the systems, this project will introduce the classic wide-body airliner experience to MSFS, and we can’t wait to share more!
Stay tuned to our in-development page for more updates soon!
19 December 2024
Welcome to the next development update for our A300B4 Professional. As the year is drawing to a close, we would like to share a few significant milestones that have been achieved within the project, our longest and most complex aircraft project to-date.
As I type this, we are finishing work on the animation and lighting logic for nearly 2000 separate switches, dials and annunciator lights. This process involved setting up code for each individual element, checking that the code then works in the simulator as expected, then meticulously refining the animations or artwork where needed. As you can imagine, such a task on this mechanical beast of an aircraft was no small feat!
Our systems coders (including a real-world 777 pilot!) have also been making excellent progress over the past 18 months, and with the cockpit artwork and animations now ready, we are in the exciting position of ‘bringing the aircraft to life’ in MSFS and beginning the thorough testing process. We look forward to sharing systems previews early next year.
You may have noticed that we've yet to share any previews of the exterior since the initial announcement, this is due to us deciding to substantially upgrade the exterior model, refining the overall geometry, adding numerous details such as panels, lines and wiring around the landing gear and bays, as well as adding a detailed cargo hold. We’re pleased to say that modelling is complete and texturing is underway, and we can’t wait to show you that progress in the new year.
With regards to MSFS 2020 and 2024 compatibility, it’s still early days for MSFS 2024, and so core development is continuing in MSFS 2020 for now, whilst we wait for greater stability. We remain committed to supporting both simulators.
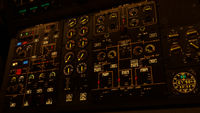
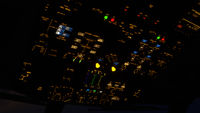
What other way could we celebrate this time of year than by showing the first previews of the entire A300B4 Professional lit up like a Christmas tree, in all of her vintage glory! Keep an eye out on our social media channels tomorrow for an exciting finale of the Just Flight End Of Year Review 2024.
26 November 2024
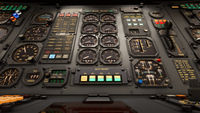
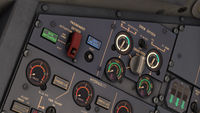
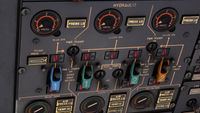
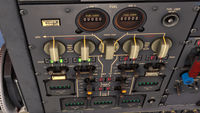
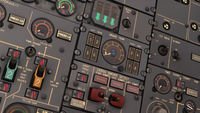
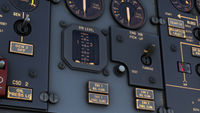
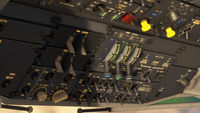
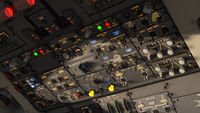
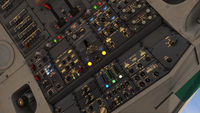
In this Development update, we get to look at the A300B4 Professional’s upper flight engineer's station. We find ourselves with another large array of gauges, switches, annunciator lights, on what is the most complex part of the A300’s flight deck.
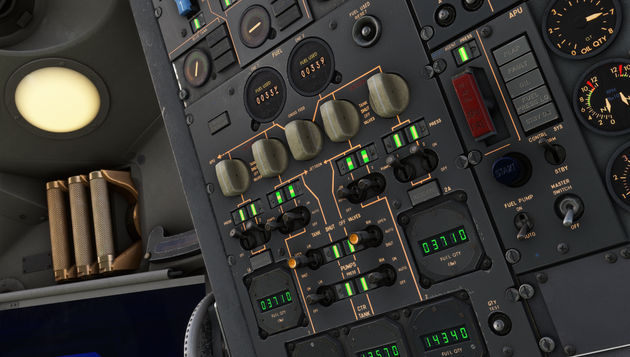
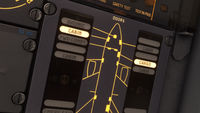
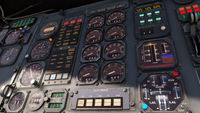
Starting with the left-hand column, other than a small area for managing the passenger and crew oxygen, most of the column is dedicated to hydraulic and fuel management. The hydraulic panel can easily be identified by the blue, green, and yellow switch guards, indicative of the three independent circuits, a naming convention which is still used on Airbus to this day. Below, the fuel panel is recognisable by the row of white knobs for the tank shut-off valves. Perhaps due to an afterthought when it was added to the B4 variant, the valves for the centre fuel tank are instead operated by switches. To differentiate these from the pumps, the tips have simply been painted yellow.
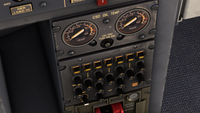
As we move across, we find a slim column of panels dedicated to systems relating to the landing gear, brakes, and fire detection. At the very bottom lies the APU control panel. This features three vertically stacked gauges for monitoring different parameters, a bank of fault annunciators, switches for fuel pumps and starting, and its own fire shut-off valve handle. As you can see there's quite a lot going on in this compact panel.
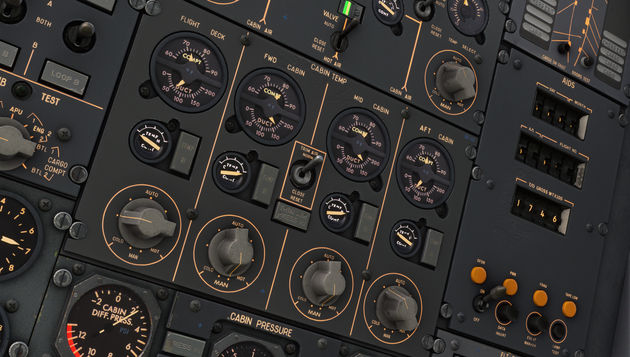
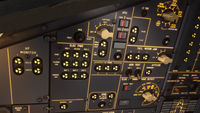
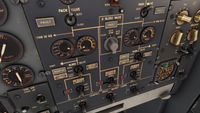
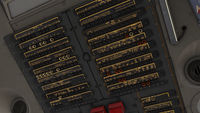
Moving to the upper right, we see many black and white mechanical indicators known as Magnetic Annunciators. When a piece of equipment or its circuit is faulty, the trefoil pattern you see here is displayed. Below, we find the majority of the column being taken up by the air conditioning and pressurisation. This is arranged from the bottom up, following on from the air bleed section. The large expanse of this panel is due to the dual pressurisation systems for redundancy, as well as separate temperature controls and displays for the six passenger and cargo compartments.
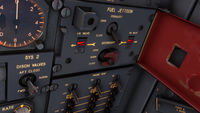
Finally, on our last column, we find panels for the flight data recorder, probe heat, and a large red metal guard which covers the fuel jettison switches. A simple but effective method to avoid accidental operation!
Every single object has been faithfully recreated from high-resolution photographs of the aircraft based at the Aeroscopia museum in Toulouse. This means that all fonts and scales of the gauge backgrounds and annunciator lights are as accurate as you can get in any simulation.
That's it for now. Next time, we’ll look at some extra areas and the cockpit in its entirety. Until then, please enjoy the screenshots below.
25 September 2024
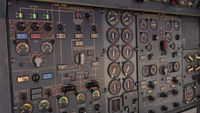
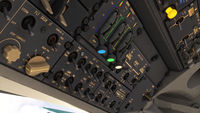
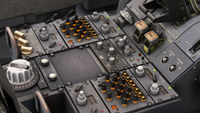
In this development update, we will take a first look at the A300B4 Professional’s lower engineer’s panel. Known as the Command 3 or CM3 position, at first glance, we see a bewildering array of switches, dials, and lights. Breaking down the panel into its individual systems will help us see that it’s actually designed in a rational and easy-to-understand way.
As with the overhead, we see many rectangular annunciator lights. These are coloured Red, Amber, Green, and Blue in order of urgency. We’ve brightened these up for you in the screenshots, you’d certainly be having a bad day if things looked like that in flight. The dark cockpit philosophy was already starting to take hold when the A300 was developed.
You’ll notice the panel contains many small magnetic indicators (M.I.'s). These have up to three positions and are used to indicate the status of valves, electrical contactors, and pumps. The three positions are Green (Inline), Green (Crossline), or Amber to show a disconnected or abnormal state. The indication of an M.I. won’t necessarily coincide with its associated switch’s position if a valve has failed to operate, for example. Therefore, it’s important to monitor these for correct operation.
So with the basics out of the way, let’s start our tour and this will be easier to follow and understand by referencing the screenshots below as you read.
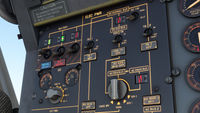
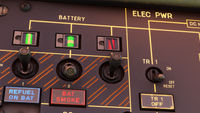
At the very left of the CM3 station, we find the panel for electrical power. The flow of electrical power is schematically arranged from the engine and APU-driven generators at the bottom right, where we see the three dials which monitor the electrical load on each. Toward the top of the panel, we come to the DC electrical system with the 3 battery switches located to the left. The rest of the left-hand side is dedicated to external power and gauges and knobs for monitoring various parameters of the AC and DC circuits. Tacked on to the very bottom, as if they were forgotten about during design, we find two dials for the constant speed drive oil temperature, the CM3’s communications box, and oxygen mask.
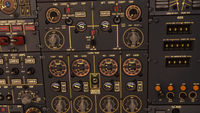
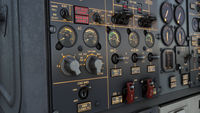
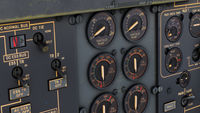
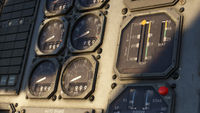
Moving across to the centre of the lower CM3 position, we find a bank of secondary engine parameter indications. These are straightforward dials which monitor various parameters not directly related to the power output but require monitoring. Towards the bottom, we find a gauge for measuring engine vibration.
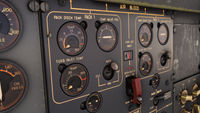
To the right of the engine instruments, we find a large panel for the Air Bleed system. The layout is similar to the electrical panel, with the bleed air from the engines and APU at the bottom and schematics guiding you up to the air conditioning packs, with gauges and fault annunciators for monitoring temperatures and pressures at various positions along the way. To the right of these, we have some simple knobs for lighting and also the CM3’s chronometer.
You'll see that our artist has taken care to capture the look of a well-used but maintained aircraft, with each panel having different levels of wear and tear perfectly captured using the latest PBR technology. All markings and schematics have been faithfully recreated using decal textures for sharpness along with beautiful integral lighting.
That’s it for now, lots to take in! Next time we’ll look at the upper engineers panel.
30 August 2024
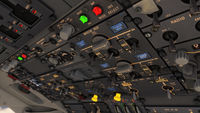
A slight change in the order of our development updates as we want to save the most complex area for last. Today, we will look at the overhead panel.
The overhead of the A300B4 is home to a mixture of different systems, and its design philosophy is such that some controls which could have been housed on the engineer’s panel are instead found on the overhead. This is because when the aircraft was designed, Airbus was already thinking ahead to the idea of two-crew cockpits, enabling it to be operated temporarily by two crew members and with the intention of certifying the aircraft for two-pilot operations permanently.
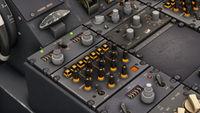
Unlike later Airbus models, we still have a rather chaotic array of switches, knobs, and annunciator lights typical of aircraft of the era. Despite this and after some studying, everything does begin to make sense. The layout is reminiscent of modern types, with the exterior lighting and passenger signs positioned at the very front and switches for de-icing within easy reach. There's some oddities such as the HF radio's being positioned here instead of on the pedestal, with the other comms radios. One of those systems which could belong to the engineer’s station are the three prominent servo control levers which the pilots can switch in case of a control surface valve jam.
Each panel is clearly labelled, schematics are provided where necessary, and the annunciator lights are colour-coded to represent varying levels of warning and indication. A type of mechanical indicator you may spot are the magnetic indicators abbreviated to M.I. We’ll become more familiar with these when we move to the engineer’s panel, but suffice to say the rotating drum of these have been modelled, gone are the days when we had to use 2D textures.
As with the areas of the flight deck that we have already seen, every single object has been textured individually to give the most realistic wear and tear possible. All text and schematics use decals to enable the best clarity whatever your settings.
We hope you enjoy the screenshots below. Next time, we will preview the engineer’s panel.
08 August 2024
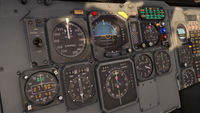
In this development update, we'll give you a short tour of the A300B4’s main instrument panel via the text and the screenshots below.
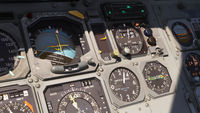
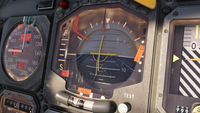
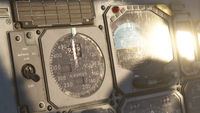
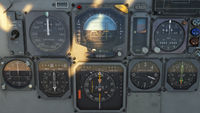
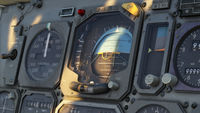
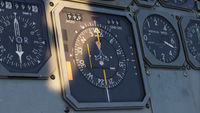
The first thing that immediately stands out is the large blue and black Attitude and Director’s Indicators (ADI’s). These characterise the A300B4’s flight deck design, being extremely clear and logical. Surrounding the ADIs, you’ll find a suite of familiar flight and navigation instruments, equally well-designed. Our artist has taken the greatest care in modelling these with as much detail and accuracy as possible, with textures directly created from real-world photos. This ensures that the scales and fonts are exactly as found on the real-world aircraft. Every single digit, needle, and flag is modelled and animated, right down to the tiny wires that hold the warning flags in place.
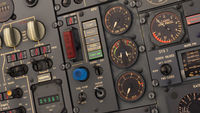
Dominating the centre instrument panel are the engine instruments and the Master Warning Panel. Notice how each caption has its own level of wear, and how the text is inconsistently lit. We hope you agree that this attention to detail creates an authentic feel of an imperfect and used aircraft. Located on the centre panel are standby gauges, the N1 limit computer, mechanical indicators for the flap and flight control positions, the landing gear lever, and the autobrake selector buttons.
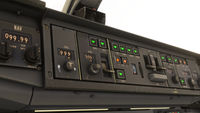
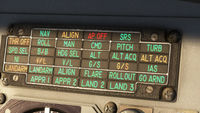
Moving up to the glareshield, we see the controls for the Flight Director/Autopilot and Autothrottle, known as the Automatic Flight Control System (AFCS). The panel is made up of white piano key-style levers for the master switches, large pushbuttons that illuminate when a mode is selected, and selector knobs with mechanical drum window displays for selections such as altitude and airspeed. Notice how we’ve textured each object individually, with each button having individual wear and tear. Our last stop is the colourful grid of captions below the AFCS panel, known as the Flight Performance Indicator (FPI), this displays the armed or active modes selected on the AFCS panel, something you’ll need to monitor closely when you get to fly our A300B4 Professional!
We hope you enjoy the screenshots below, next time we will take a closer look at the engineers panel.
23 July 2024
Here’s the first of a few new updates covering the latest visual work that has been carried out on the Flight Deck area.
Over the past few months, our Lead artist has been busy recreating the remaining sections of the A300B4’s complex cockpit—a mammoth task when you consider each individual gauge and needle in this 1970’s mechanical beast. Our artist has also taken great care to give the aircraft an authentic, lived-in feel, with each panel, knob, and screw having its own individual level of weathering and discolouration, faithful to the real-world reference aircraft.
With this work now complete, we are excited to share the results with you. Through a series of In Development updates, we are excited to take you on a tour of the entire flight deck, starting with the centre pedestal.
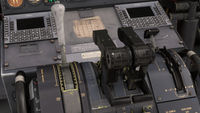
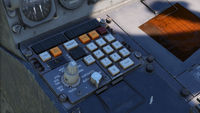
Starting at the forward section, you’ll notice the authentic recreation of the Carousel IV Inertial Navigation System’s (INS) Control Display Unit (CDU) on either side. Each segment of the data displays has been created using its own object to give an authentic and crisp look from any distance. For a more modern option, you will be able to swap these for the UNS-1 FMS, which were often retrofitted to real-world A300’s.
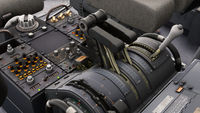
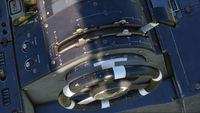
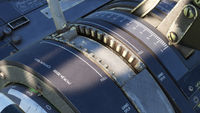
Moving rearward, attached to either side of the pedestal, we find conventional stabilizer trim wheels with a simple pointer and scale from 3 degrees nose down to 12 degrees nose up. On the top, we find a large speedbrake lever and a combined flap/slat lever with 5 positions. In the middle we find two conventional throttle levers, and yes, we mean proper throttles rather than the gated “Thrust Levers” that we find on later Airbus families. Aft of these, we have the fuel cut-off switches, parking brake handle, and a couple of buttons for the take-off config test and gear horn warning.
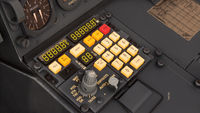
Moving further aft, we have the heart of the A300’s communications suite. This comprises 2 VHF control units with a transponder unit in the centre. These all feature mechanical rotating drums that we have individually modeled. Behind, we have 2 audio selector panels and controls for the weather radar located in between. Located behind both audio selectors, we can find our ADF navigation radios, again with rotating mechanical displays. Behind the ADF1 panel, we can find 3 white knobs which control the various lighting of the centre pedestal. Coming towards the rear, we have a SELCAL controller, and finally, the two large knobs located on the top and rear are for the rudder and aileron trims.
In summary, the centre pedestal has quite a conventional layout that we are used to seeing on more modern types; however, there is character made up by the mechanical displays and vastly different wear and tear where the units have been swapped out over the lifetime of the aircraft.
We hope you enjoy the screenshots below. Next time, we will focus on the forward panel and autopilot.
19 December 2023
Since the reveal of our A300B4 Professional at FS Expo 2023 our talented artists has been busy taking on the mammoth task of texturing the rest of the flightdeck and upgrading the exterior model.
To the cockpit where every single panel, gauge, knob and lever is being painstakingly recreated to match the real aircraft. Right down to the weathering on each individual screw head we aim to bring a level of detail never seen before in Microsoft Flight Simulator.
On the exterior our artist has reworked most of the fuselage and nose section, countless new details have been added including highly detailed flap track mechanisms and brand new highly detailed models for the CF6 and JT9D engines.
Meanwhile we have made excellent progress with the systems coding, with the Electrical, Air Bleed, Air Conditioning and Pressurization, APU and Fuel systems complete. These have all been custom coded so that all valves, temperatures and pressures will react as in the real world and are affected by environmental conditions and system configuration. Next up is the Hydraulic system.
We look forward to sharing more details and screenshots early next year.


